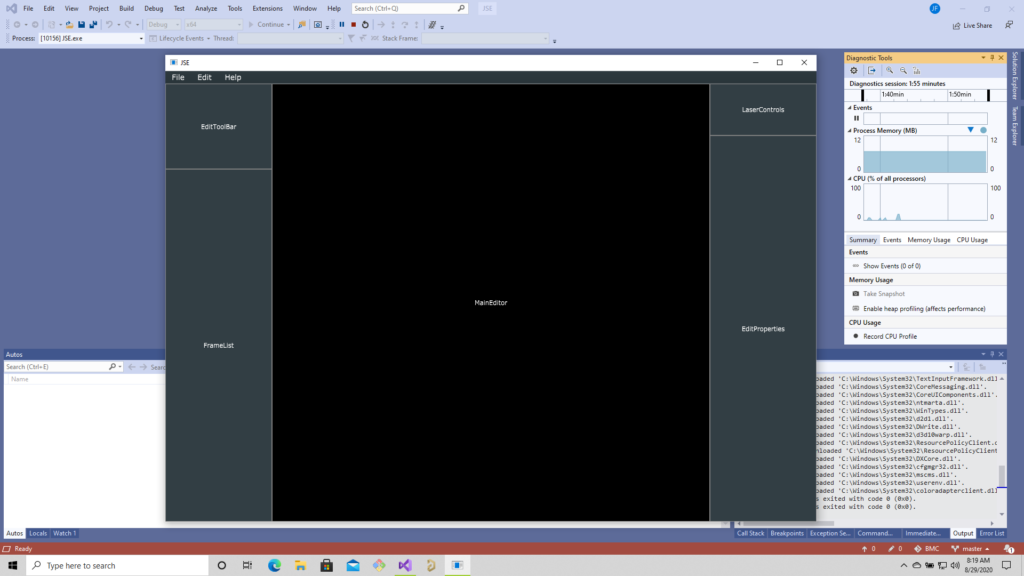
Last time we created a simple skeleton and populated it with placeholder JUCE components. It’s nice that it built on multiple platforms, but we still have a lot to add to all those empty squares:
With JUCE, as you will see in a bit, it is easy to get quite a lot happening in short order. But, I find it is always best to work through certain kinds of issues up front. One of those thorny issues we should figure out is the headache of scale.
We are looking to edit ILDA files. An ILDA file is a 16-bit XY grid. Coordinates range from -32768 to 32767 on both axes. A 27″ Apple retina display is 5120×2880, no where close to the resolution of what we want to edit. On some popular commercial laser systems, fudging on resolution probably isn’t a problem. They are using 12-bit DACs for the entire scan angle, so graphics are often played back with just 8-9 bits of resolution (256 to 512 steps across). But our system is 16-bit and others are already 20-bit, so we should at least try to set the stage for getting full ILDA file format resolution.
What this means is that, most the time, the data being edited will have to be scaled to fit on the screen and we will have to convert mouse coordinates, ILDA XY positions, etc. to this scaled view. There are a number of ways to handle this, but we are going to try to keep it simple and just use a JUCE component.
Last time we did a lot of this:
void MainComponent::resized()
{
    toolBar->setBounds (0, 0, 200, 160);
    frameList->setBounds (0, 160, 200, getHeight() - 160);
    laserControls->setBounds (getWidth() - 200, 0, 200, 97);
    editProperties->setBounds (getWidth() - 200, 97, 200, getHeight() - 97);
    mainEditor->setBounds (200, 0, getWidth() - 400, getHeight());
}
Resizing JUCE components to fit comfortably in the window size our application is currently using. But JUCE has another class called AffineTransform, and Component classes can be assigned one. What is an AffineTransform? It’s a linear algebra matrix, just like we used here (although we went 3D and the JUCE class is 2D).
Last time our MainEditor class calculated a square working area based on window aspect ratio. We can modify that class to use a WorkingArea component class as a child. We can size this child component to 65536×65536, then assign an affine transform to scale it to fit where we have been drawing a working rectangle.
void MainEditor::resized()
{
// Figure out our working area
auto w = getWidth();
auto h = getHeight();
if (w > h)
activeArea.setBounds ((w - h) >> 1, 0, h, h);
else
activeArea.setBounds (0, (h - w) >> 1, w, w);
// Scale our working area to fit on screen, but still
// draw in full ILDA space
activeScale = (float)activeArea.getHeight() / 65536.0f;
activeInvScale = 1.0 / activeScale;
workingArea->setTransform (AffineTransform::scale (activeScale));
workingArea->setBounds (activeArea.getX() * activeInvScale,
activeArea.getY() * activeInvScale,
65536, 65536);
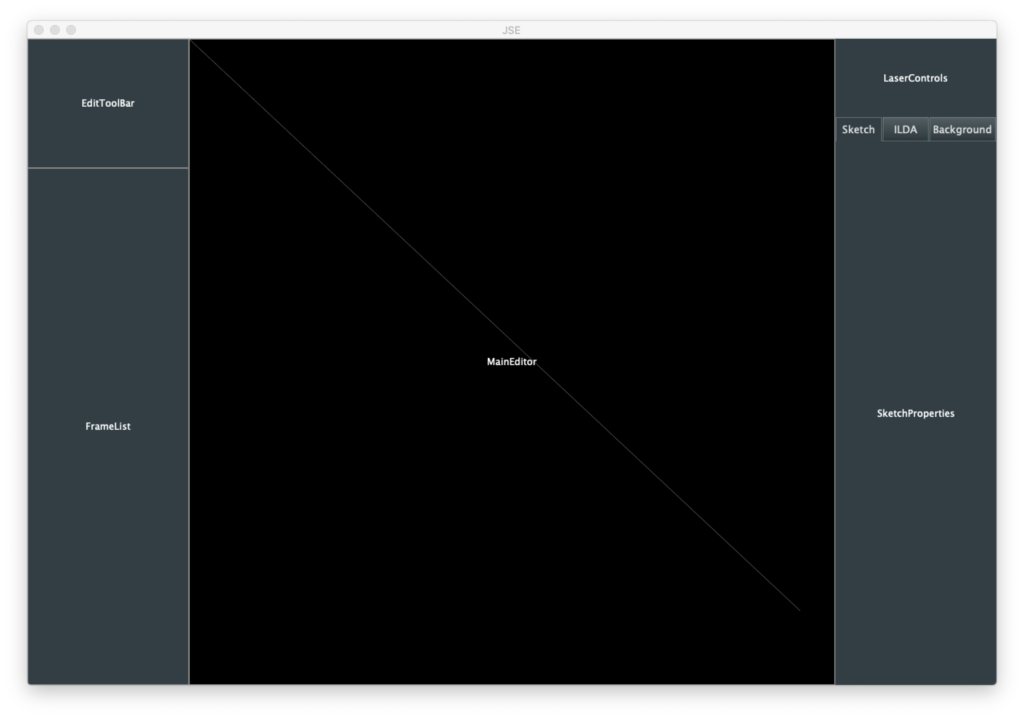
}We can then confirm that scaling is being handled for us a couple of ways. First, inside our WorkingArea class we can draw a line that would be way too long to fit onscreen if we were not scaled:
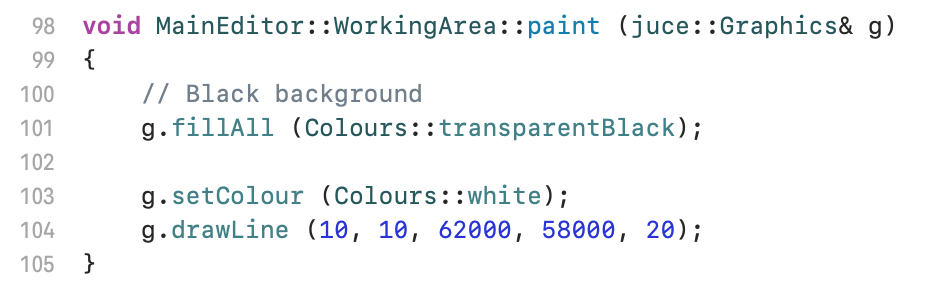
The drawline parameters are x1, y1, x2, y2, linewidth. We have to make the line 20 units wide so that we can see it scaled down. It is faint, but we can see that our line was drawn from very close to the top left to bottom right:
But what about user input? We can override a method in our WorkingArea class and print out mouse coordinates to the debugger:
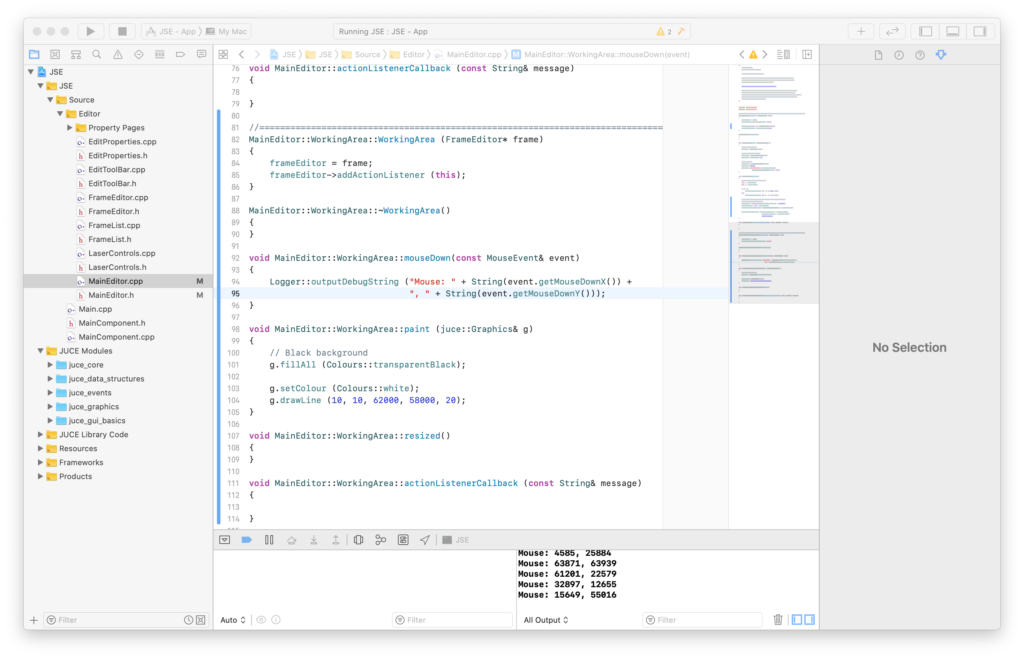
Although we are clicking on a relatively small display window, we are getting coordinates scaled up to 16-bit. JUCE is 0,0 = top left. ILDA is 0,0 equals center, so to get mouse clicks as ILDA coordinates we need to apply an offset:
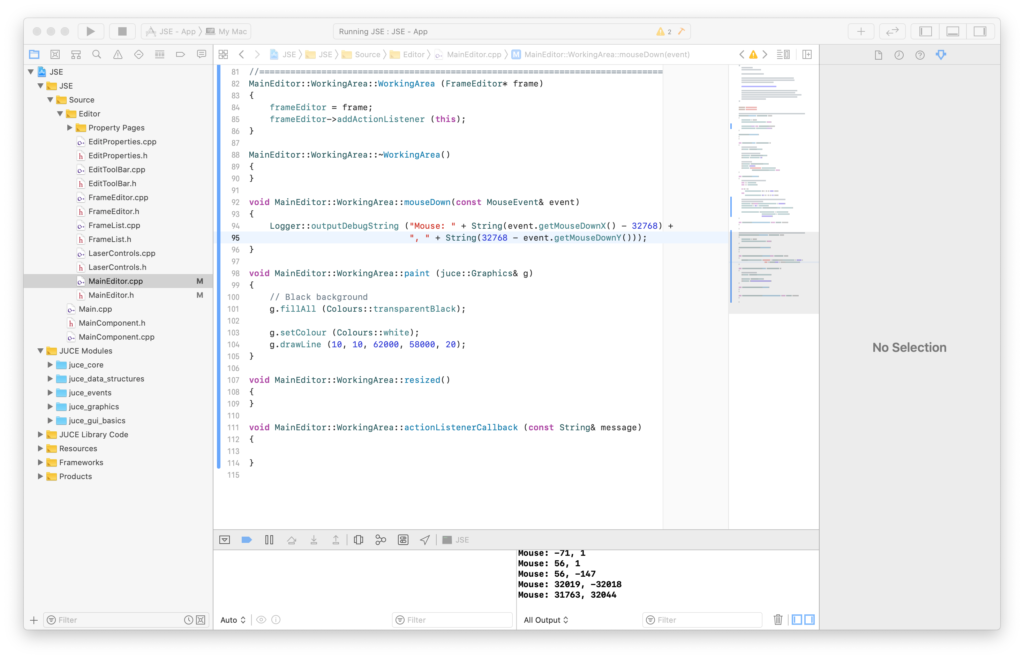
Clicking near the center gives us values near 0,0 and the quadrants are all the correct polarity for ILDA coordinates.
What might not be obvious from above is that this scheme keeps working even if we don’t scale our WorkingArea component to fully fit on screen and centered in our MainEditor component. We could zoom in and pan. Only the portions that fit in the visible area of our MainEditor component can be seen and clicked on, but the mouse input and display scaling will keep working in our ILDA sized space.
So far so good, but a scheme like this works best when everything being referenced and/or edited is drawn in the same scale context. That would include things like artwork we want to trace. If we draw the image in another component without the AffineTranform scaling applied, there can be small rounding errors how things stack up and align. You wouldn’t want to zoom in super close to trace a curve, then zoom out to find that what you had just drawn has shifted slightly away from the reference. If possible, we definitely want to draw even our reference images in this big 16-bit sized component.
But what will happen if we scale a reference image up to 62535 in size, then scale it back to fit on our screen? Will it get all distorted? JUCE has pretty good image scaling code, but the only way to know for sure is to put it to the test.
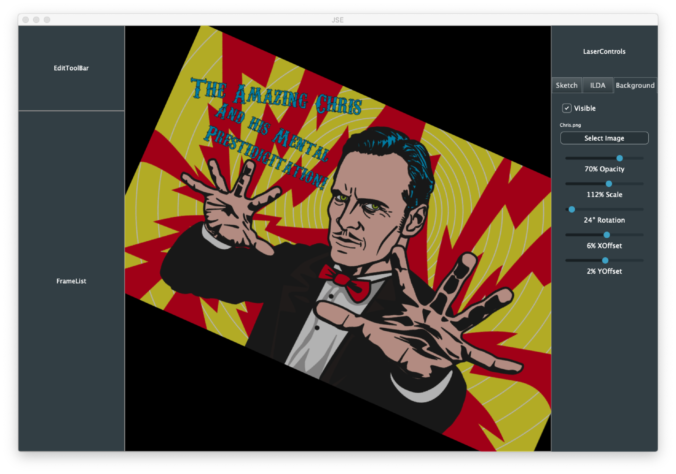
You might have noticed that our Properties rectangle already has tabs for our three editor layers. JUCE has a TabbedComponent class, so I went ahead and used it. Next I throw in some controls for our Background (Reference) layer using some JUCE UI control components. You can re-skin these components with something called the LookAndFeel class, or even override their paint methods outright, but we’ll just run with the stock versions and a few color tweaks.
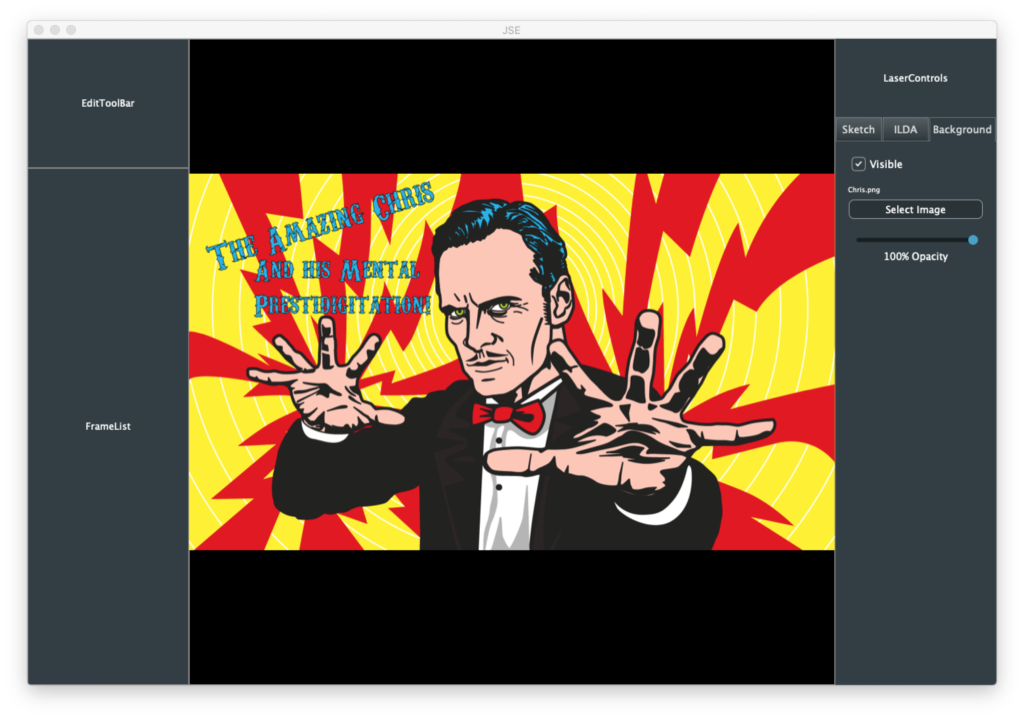
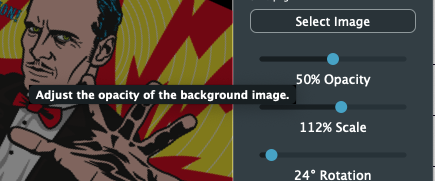
I started simply, with just a button to pick the image, a way to toggle visibility on and off, and a slider to control the image opacity. I picked an image with lots of curves and squiggles to make sure I was happy with the rendering quality.
I used the JUCE drawImage method that scales to fill a rectangle and gave our entire 65536×65536 component as the target. I tried other images as well. They all scaled up and back down nicely. Of course, this image blasts in your face, hence my immediate addition of an opacity control:
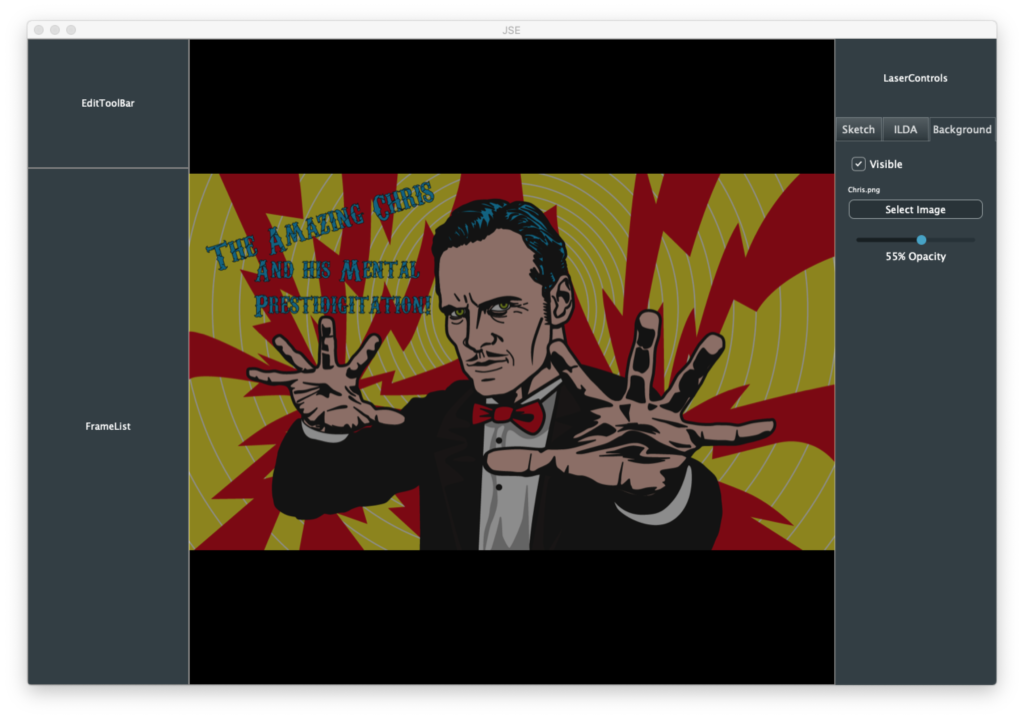
But there is another version of drawImage that uses… you guessed it, an AffineTransform! So, what the heck, I added scale, rotation, and positional offset controls. These might actually be handy if you are trying to animate someone’s static logo.
I also added some placeholder plumbing so that we are editing a Frame container class. But we really do pick up a lot of goodies in a hurry using JUCE. For example, tooltips:
If you hover the mouse, the tips pop up with just an extra line of code on our part. The sliders also sense mouse speed, so you can dial in every possible number, even though the sliders themselves are less than 200 pixels wide. You can also just click on the text under a slider:

It highlights. Type in the new desired value as a number:
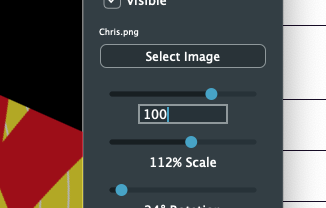
And hit enter:
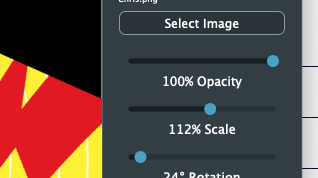
Since we are an editor, the other thorny issue we want to resolve up front is Undo/Redo. These schemes are very hard to retrofit after an editor is otherwise written. Again, JUCE gives us a big leg up, but I’ll have to cover that next time!
Leave a Reply