Download OS X and Windows 32 and 64 bit versions from GitHub here.
Changes from JSE 0.1.1
Bug fixes
- Fixed a bug where you could not delete and undo the last frame
- Fixed a bug where you could operate the menu bar during transform operations and get undo out of sequence
New Features
- Five new selected ILDA point transforms
- Barber Pole
- Bulge
- Pinch
- Spiral
- Sphere
- Right click context menu for Ilda Selection Tool
Notes
Originally I wasn’t going to put in 3D transforms at this point, but later when I do a simply animator/frame generator. But I needed one, then the dust was kicked off my Euclidian math brain cells and a single new transform button on the ILDA properties pane looked lonely, so…
Barber Pole wraps the selected points around a virtual cylinder. You can control the radius of the cylinder. Although they are available as separate transforms, I put one axis of skew/shear and Y rotation on the same popup:
I made the matrix order skew, cyl transform, rotate, so you can get some nice perspective type looks like above, but if you look from the bottom you can still see it is a cyl:
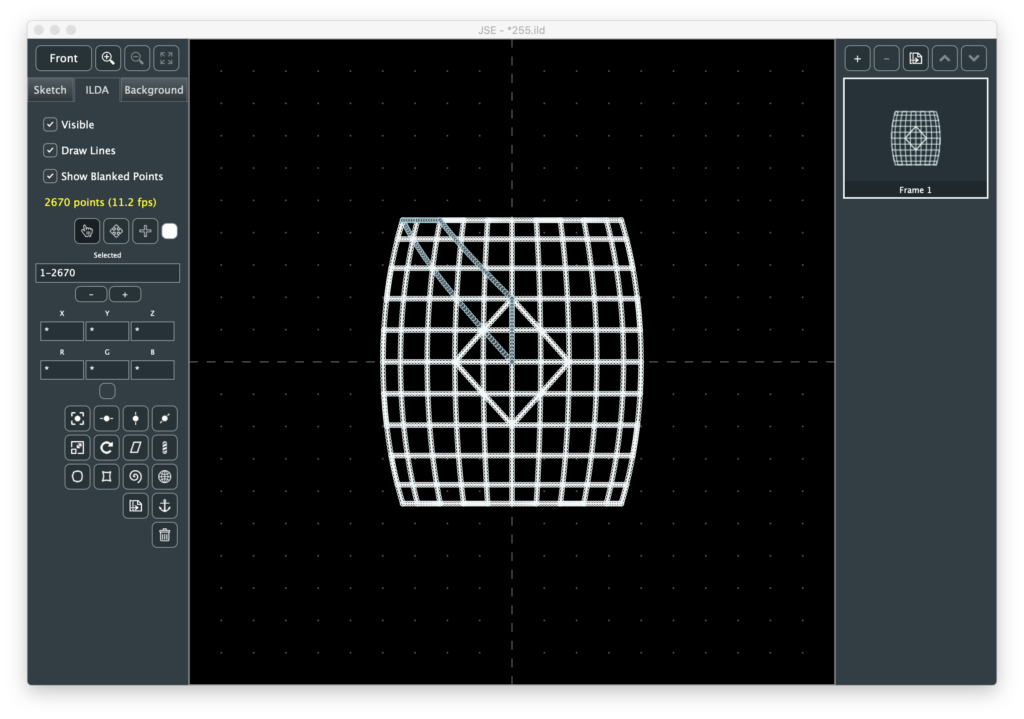
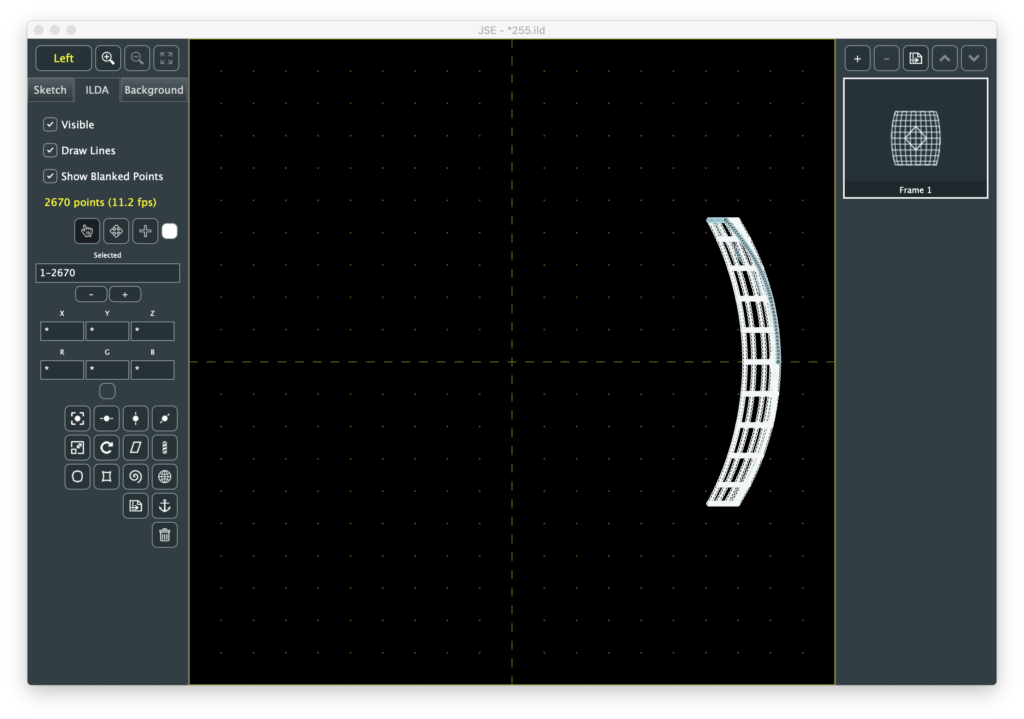
Bulge and Pinch are really the same transform. The coordinates are converted to from cartesian to polar, then exponentially adjusted and converted back.
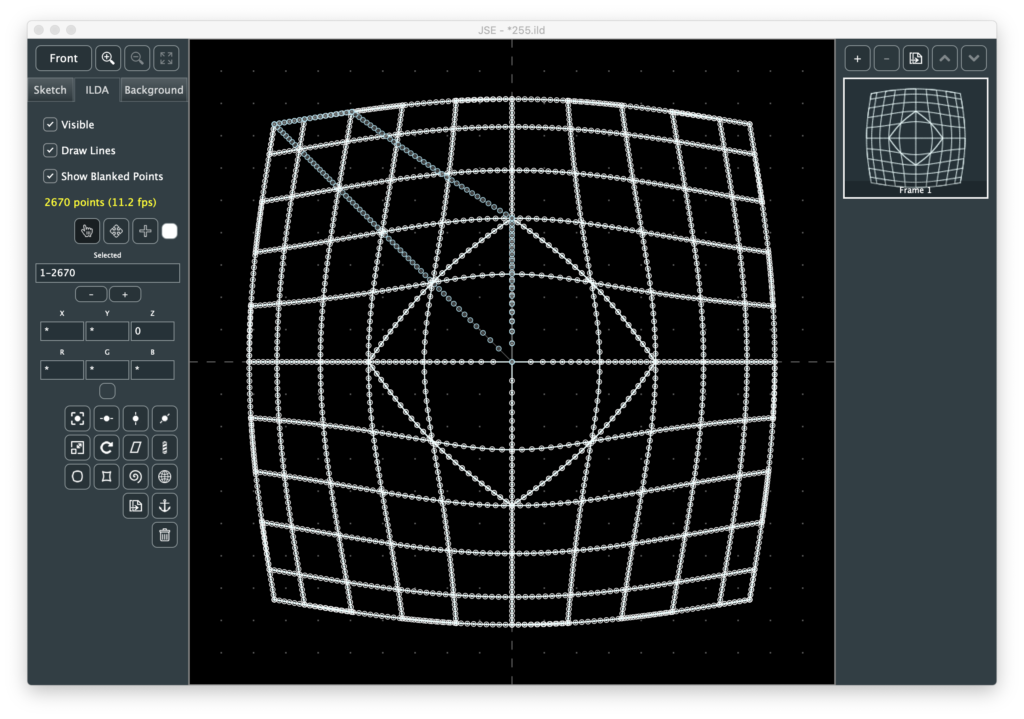
This is just a quick and easy way to get the desired visual effect without contour mapping and doing a projection. If you look at the converted image from the bottom or side you can see it is still flat:
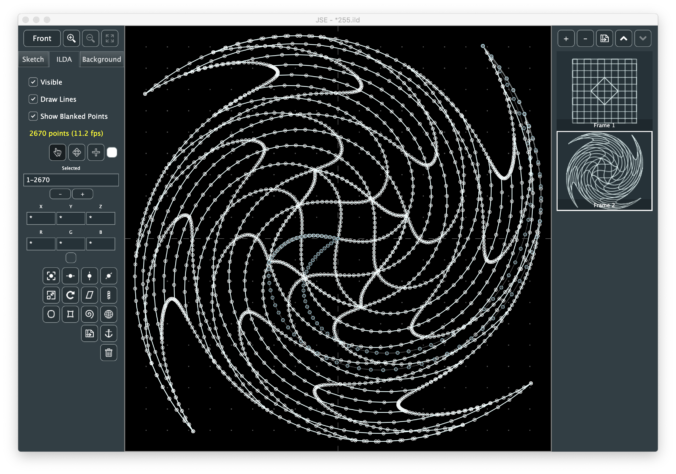
Spiral is basically a drain effect.
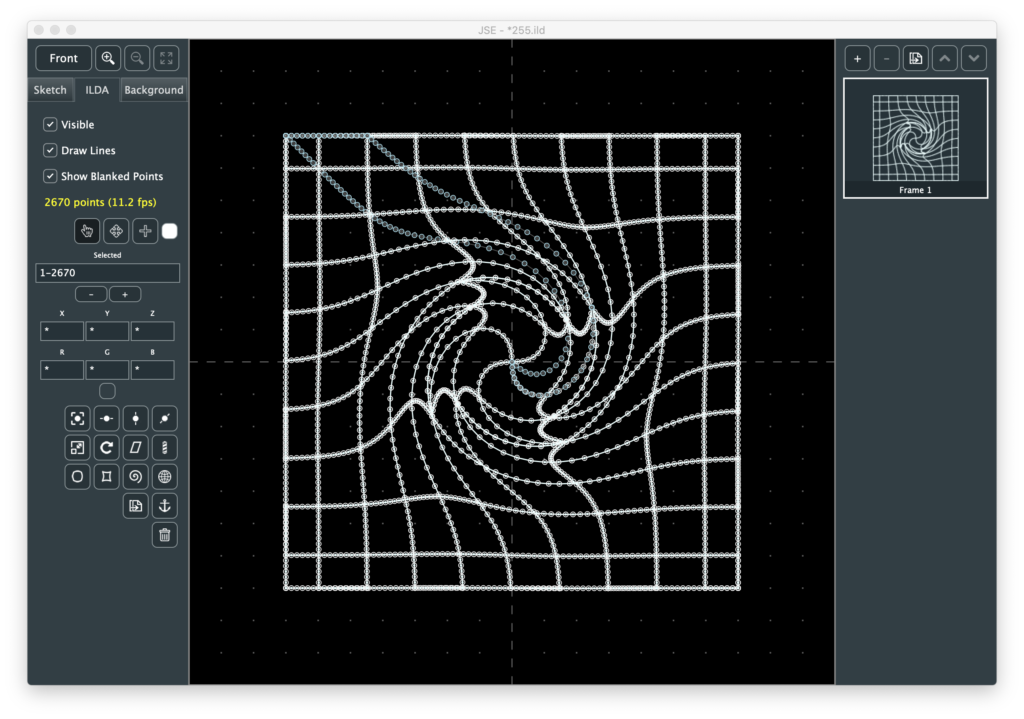
You can control the amount and direction of the swirl and the size of the vortex, giving this one a lot of versatility. I do transform the vortex as a Z offset:
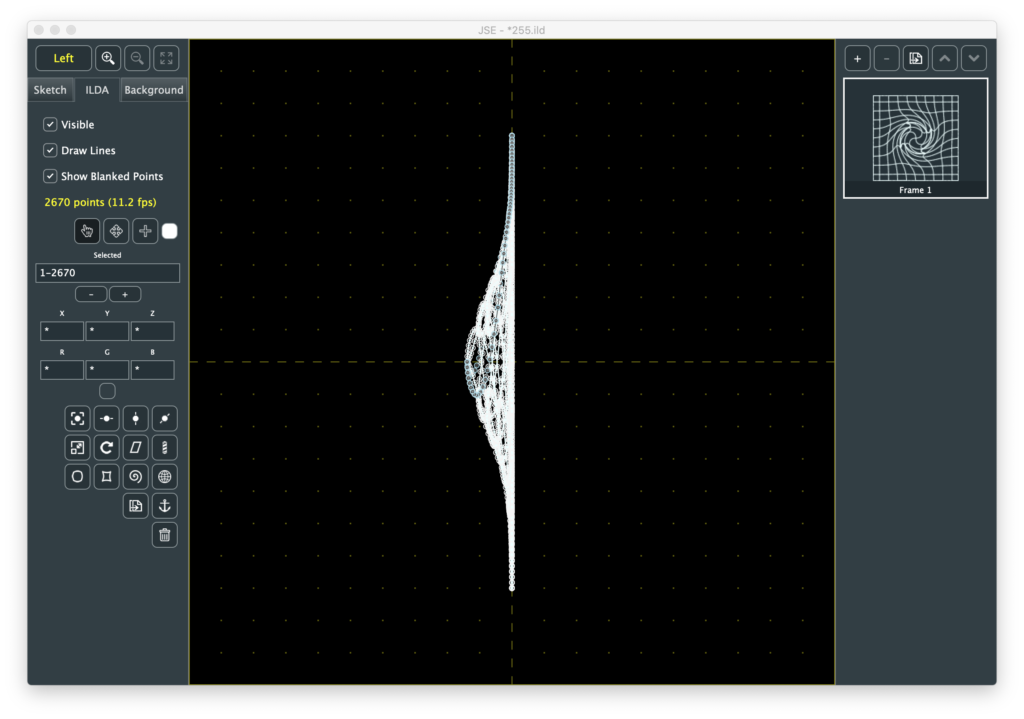
But you could force all the Z coordinates back to 0 and the front view would look exactly the same.
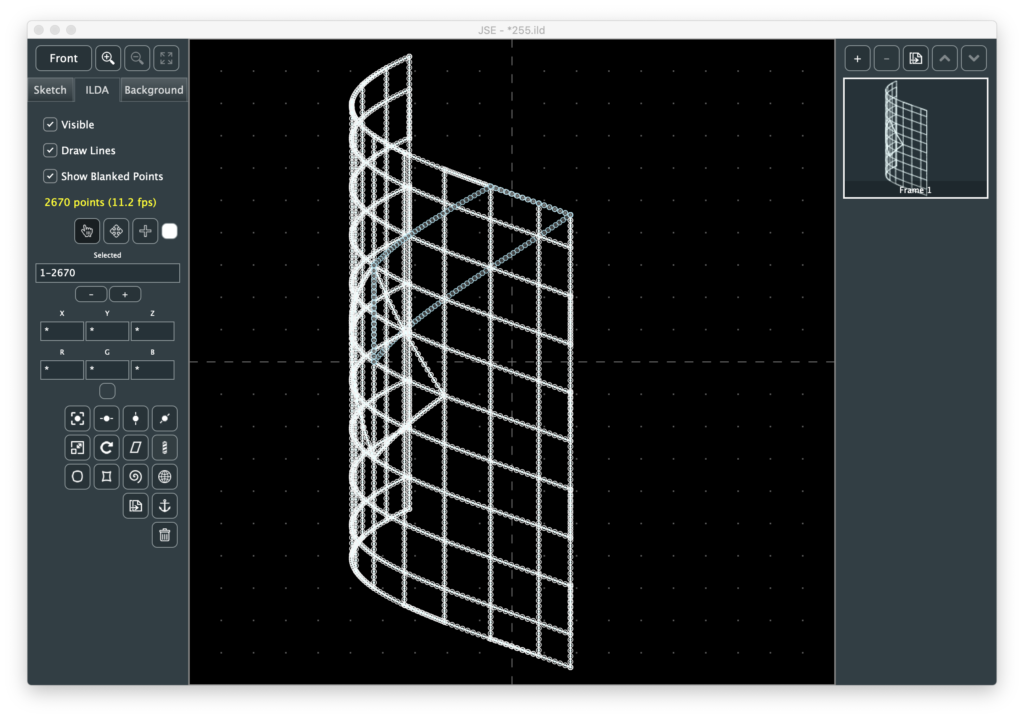
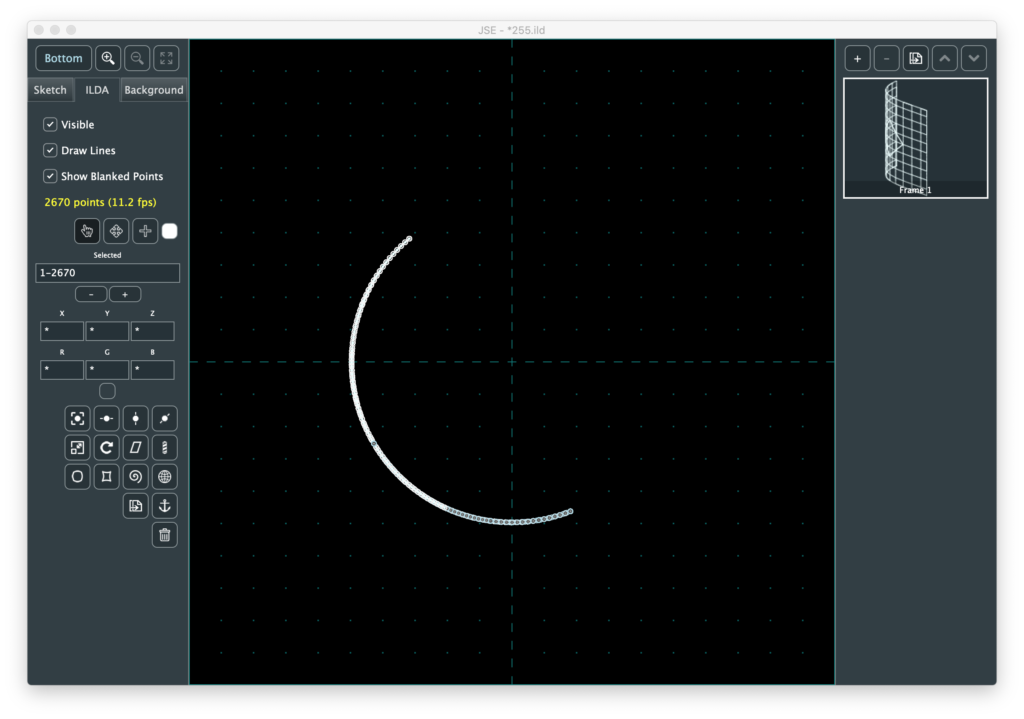
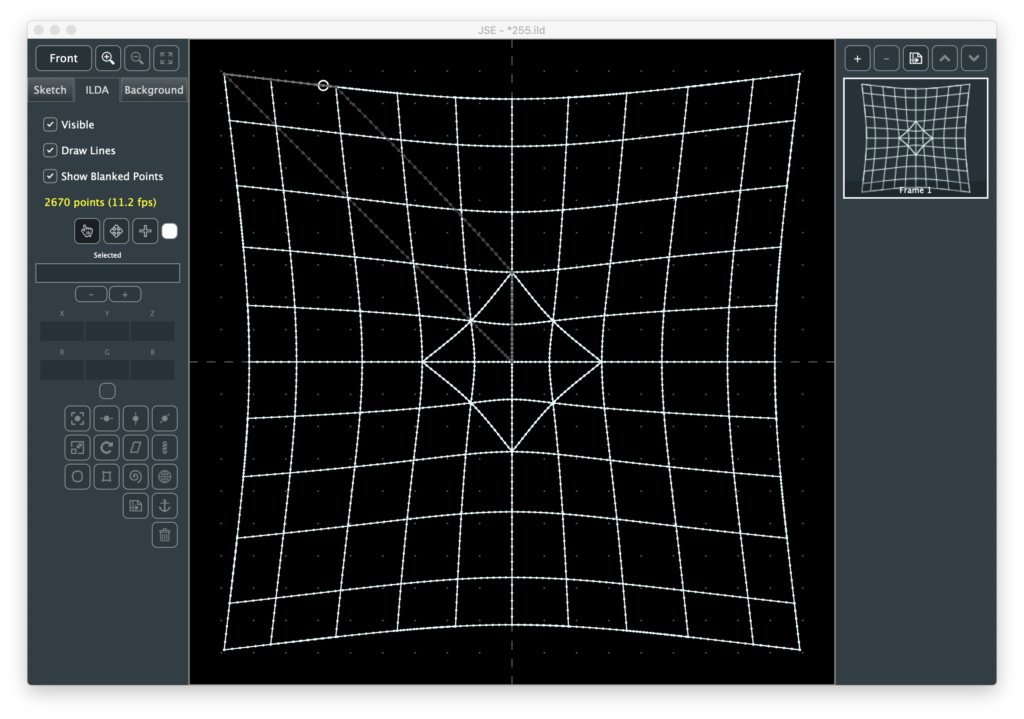
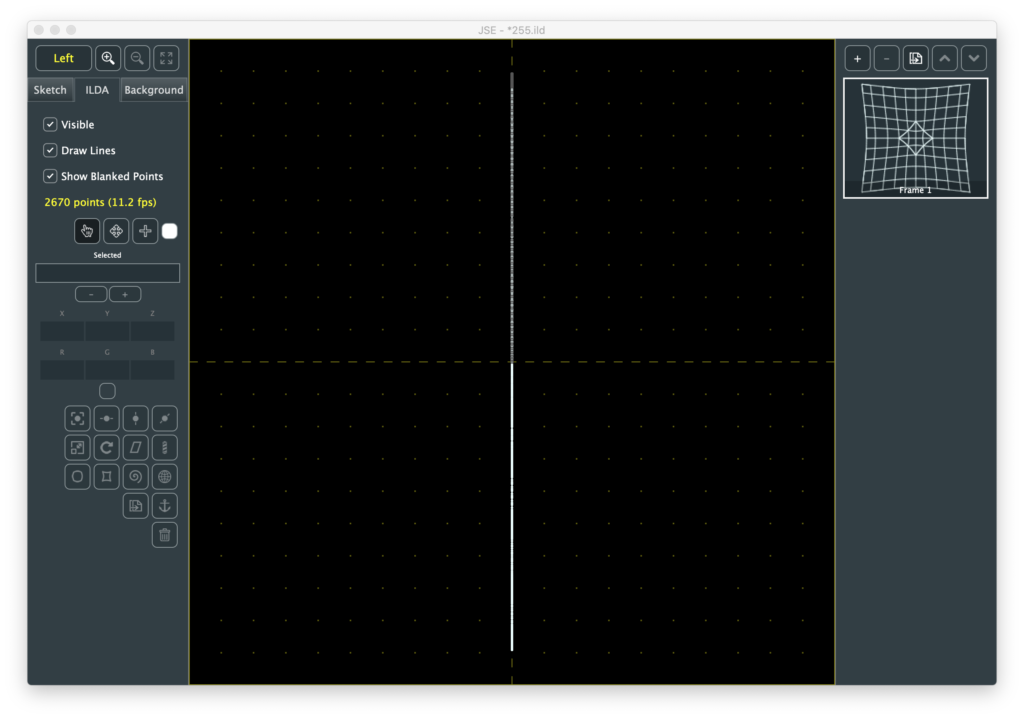
Sphere, as it’s name implies, stretches ILDA coordinate space around a perfect sphere:
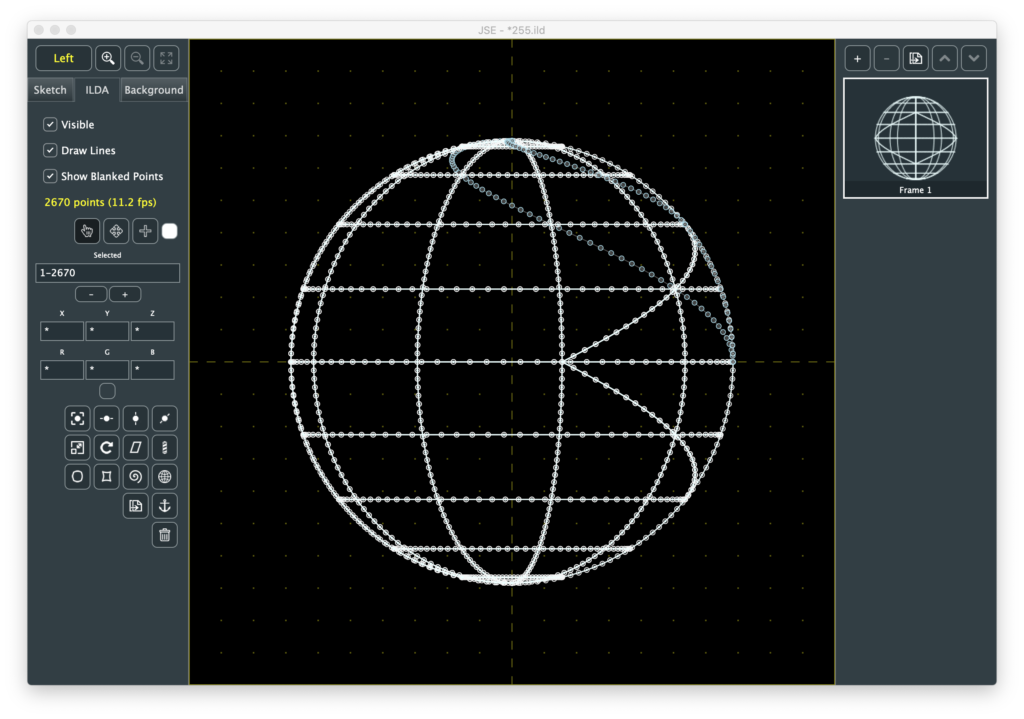
By default, the ILDA plane is stretched twice as wide as it is high, so that it fully covers the sphere. But you can control the radius of the sphere and independently adjust X and Y scale so you can control how much or little of the sphere surface is covered (or even covered multiple times):
This is a nice way to create some pieces with some contour to fly around, but it also shows why I went with the exponential polar transform trick for bulge and pinch. Without a good projection transform, these kinds of mappings look very Star Wars like.
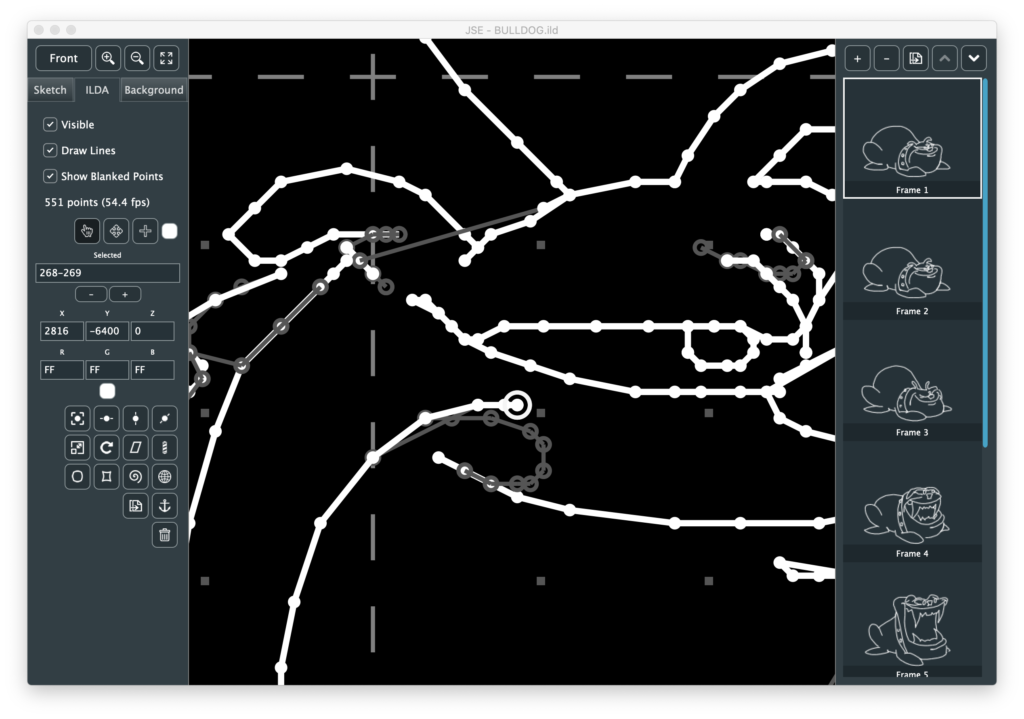
The Select Tool Context Menu came out my own use. Often anchor points are stacked on top of, or almost on top of each other. You can select all those points by dragging a rectangle around them with the select tool, but that isn’t always convenient, so I added a right click menu you can use when a point is highlighted:
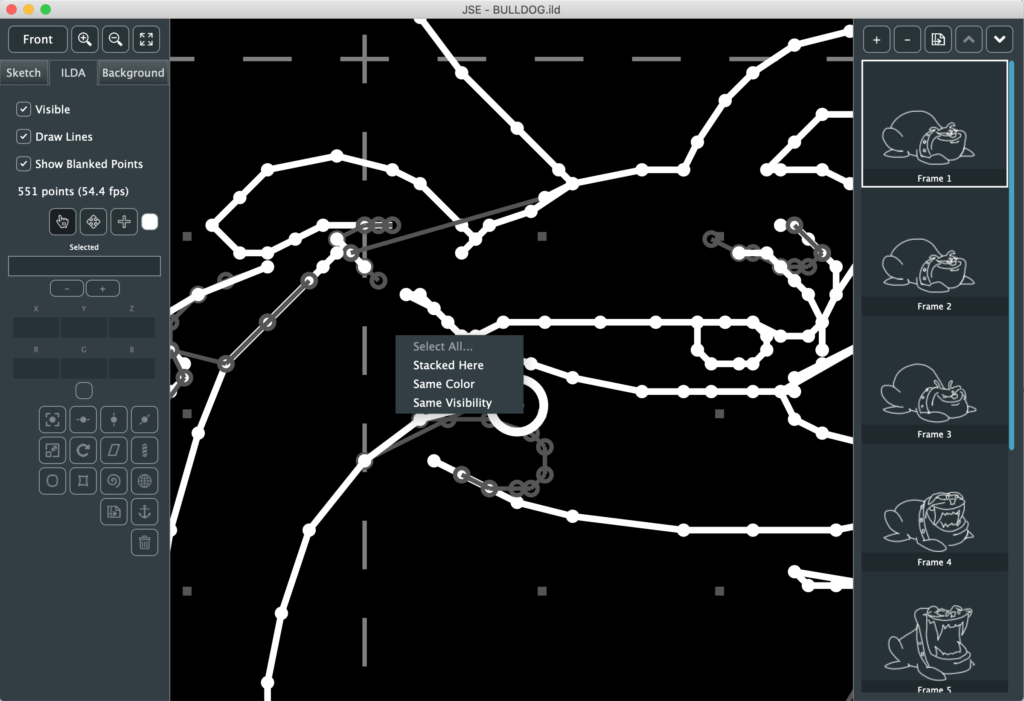
It let’s you find all the points (“Stacked Here”) that would have passed the proximity test (instead of just the first one, like when you left click):
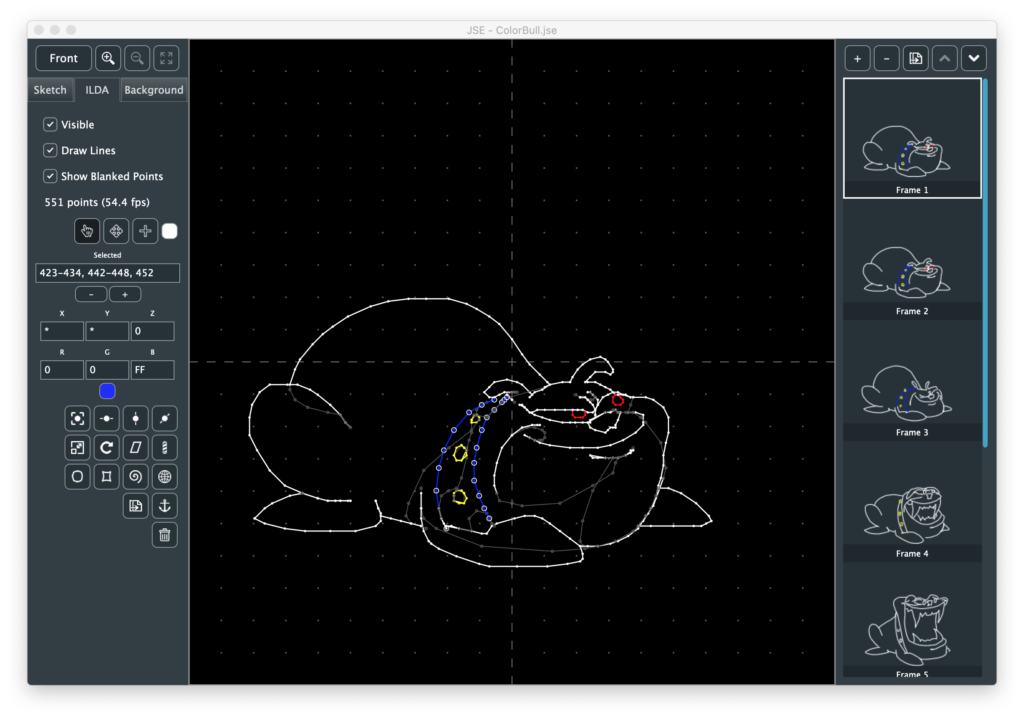
You can then move or alter those points as a group. Since I put in a menu, I also added the ability to select points of a matching color or visibility, which can be useful when modifying coloring:
If you right click without highlighting a point you get the option to Select All or Clear the current selection.
Not as much as I had hoped to squeeze in this week, but I didn’t have a ton of time to work on it. More soon though, I promise! I’ll also try to catch up a bit on design and execution backstory.
Leave a Reply