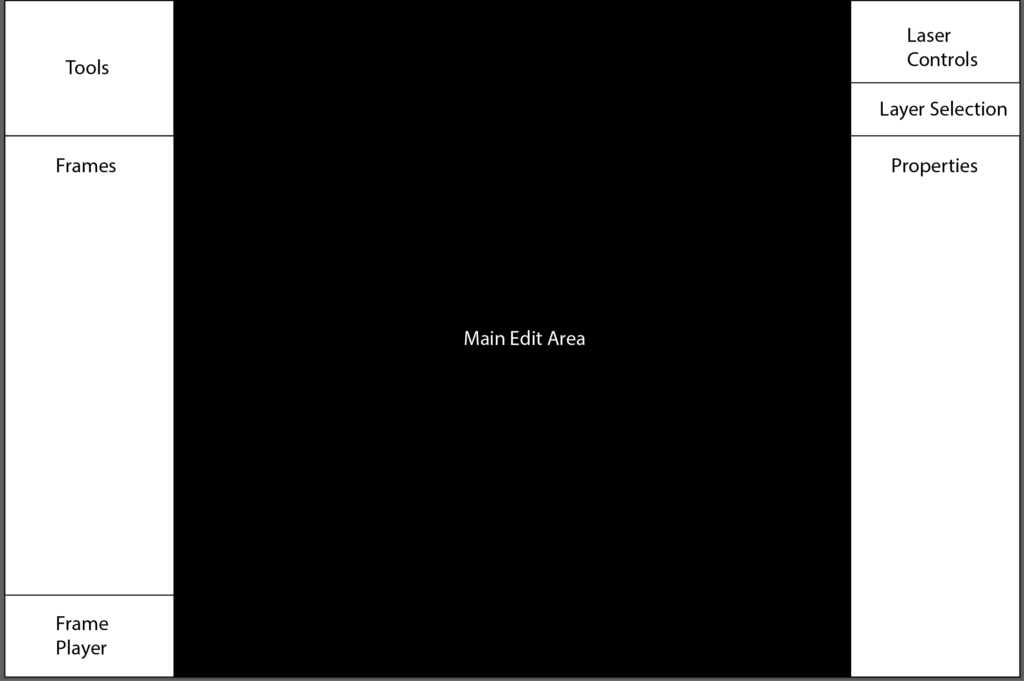
In our last post we sketched out a simple editor design. Now we need to turn it into code we can compile. We want to be able to build and run as a native application on OS X, Windows, Linux, and iOS (iPad). All platform vendors would really like you to write for just their platform, so they all have their own preferred language, C# for Windows, Objective C or Swift for OS X, etc. Even in the Linux world, Android is a non standard JAVA framework on top of Linux.
But all the platforms have a dirty little secret. They all generally still support C++ and probably will for years to come. Why? Games. Most high performance game code is written in C++ and that industry still has the leverage to keep even Apple and Microsoft somewhat in check.
But native C++ code for each platform would normally be quite different. Each handles windows, cursors, controls, messaging, and etc. differently. What we want is core C++ code that accesses generalized operating system services (an ‘OS abstraction layer’ if you will), then native drivers to compile and provide those generalized services on each platform. I can personally attest it is possible to do this from scratch, but it is a crapload of work.
Fortunately a few good free options are available to us. One popular option is Qt (pronounced “Cute”). Each time I start one of these projects I take another quick look at it. It’s got a big community, a very permissive license agreement, and is certainly capable of what we want to do but… I just don’t like the coding style or framework design.
So, once again, I’m going with JUCE. A framework very popular in the music industry. I’ve actually been using JUCE for various projects for years and contributed a number of fixes and classes back when it was all maintained by one guy, Jules Storer. It has gotten a bit big and complicated too, but I just find most the source code vastly easier to navigate and quickly understand.
The latest version of JUCE is 6.0 (released just a few weeks before I wrote this). If a program is non commercial and open source, as this one is, no license is required. However, if you make changes and build your own version you must either enable the “Made with JUCE” splash screen or purchase a suitable JUCE license. I actually have a license, so any binary builds I distribute here will have the splash screen disabled. But please do honor the licensing agreement!
There are tutorials and books on JUCE, so I’m not going to reinvent that wheel. Likewise, I’m not going to take a stab at teaching you C++, though even if you know C++ I’d recommend reading something like Scott Meyer’s “Effective C++“. Storer clearly embraced the RAII (resource acquisition is initialization) methodology in much of the JUCE library.
We’ll just jump in with a tool called the Projucer (previously the Jucer, hence the orange slice icon). You can download the Projucer as a binary for your platform or just build from the source included with the JUCE library (what I normally do). The tool is a platform independent way to create a project and maintain the files in it. It then can export project files for the XCode on Mac, Visual Studio on Windows, etc. There is also a simple graphical editor which can be handy for putting together basic graphical UIs, but we won’t be using that in this post.
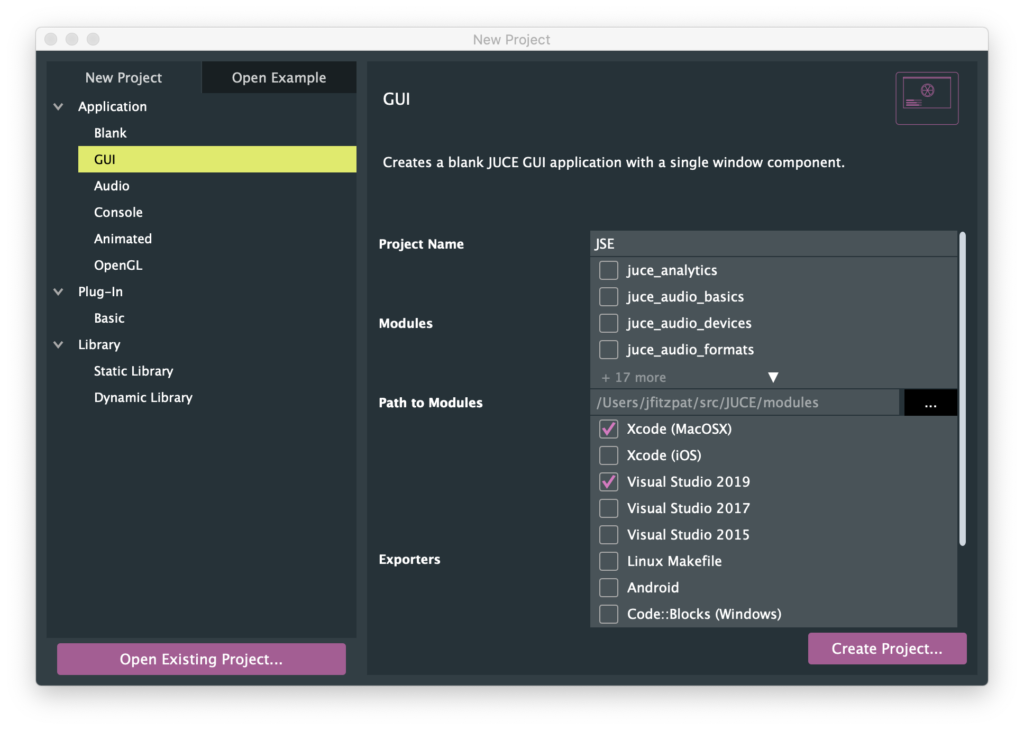
To kick off our simple editor I’m picking a new GUI project, giving it the name “JSE”, and picking Xcode (MacOSX) and Visual Studio 2019 as our first exporters (we can add more later).
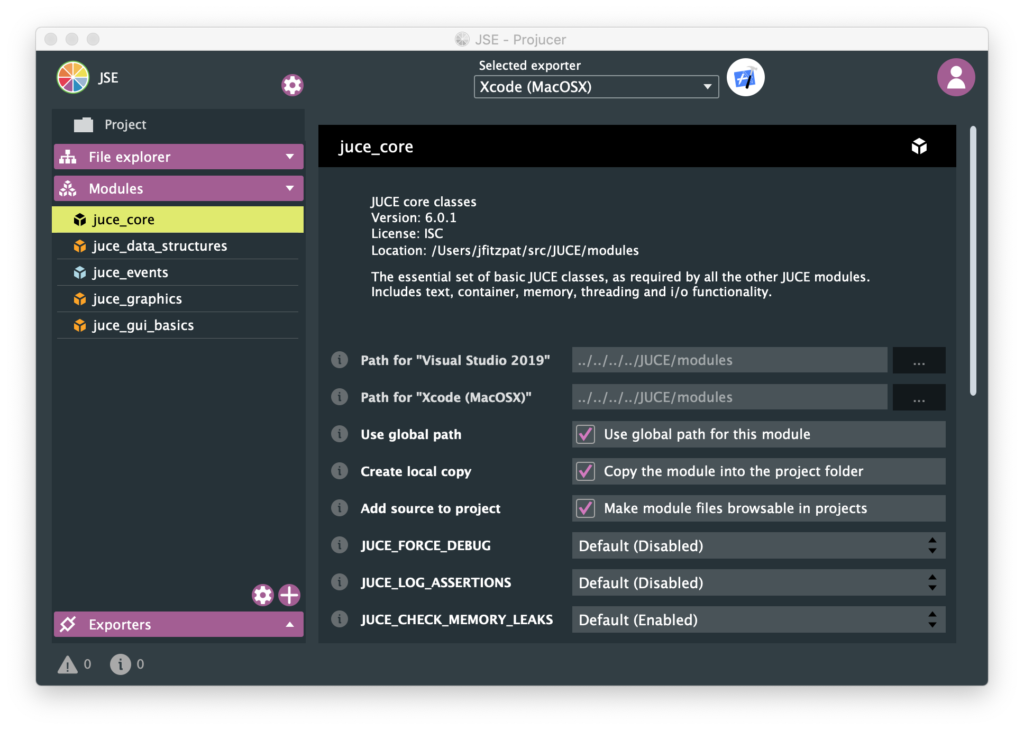
One default I am going to change is I am turning on “Create local copy” for each of the 5 JUCE modules that are in our project so far. This puts all the source code used by our application together, so it all goes into source control as one complete set of files. This helps insure that we can build or application later, even if we haven’t worked on it for awhile and something in JUCE has changed.
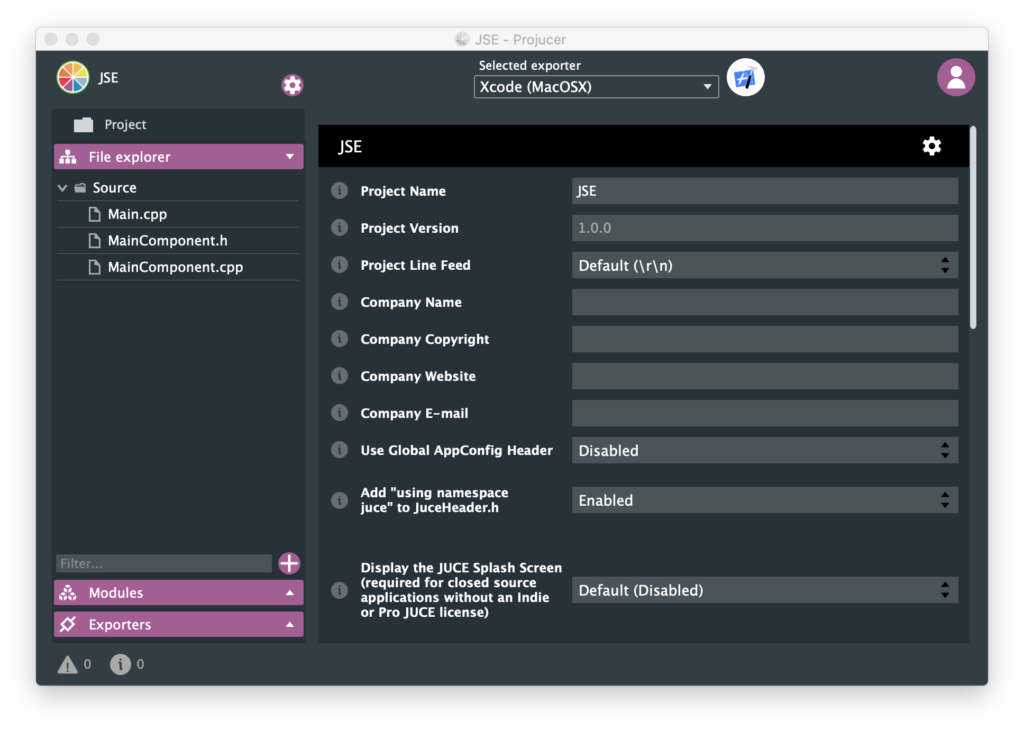
One other change from default is in the global project properties, accessed via the little gear icon at the top of the window. Obviously we’ll want to populate many of these fields, but I’m switching “Add ‘using namespace juce’ to JuceHeader.h” to Enabled. If you don’t have this turned on you need to use all JUCE classes and data types with the prefix “juce::”. If you are using a bunch of other third party libraries this is a good way to avoid name collisions, but it is a lot of extra typing, so I’m adding the namespace to any file we include “JuceHeader.h” in.
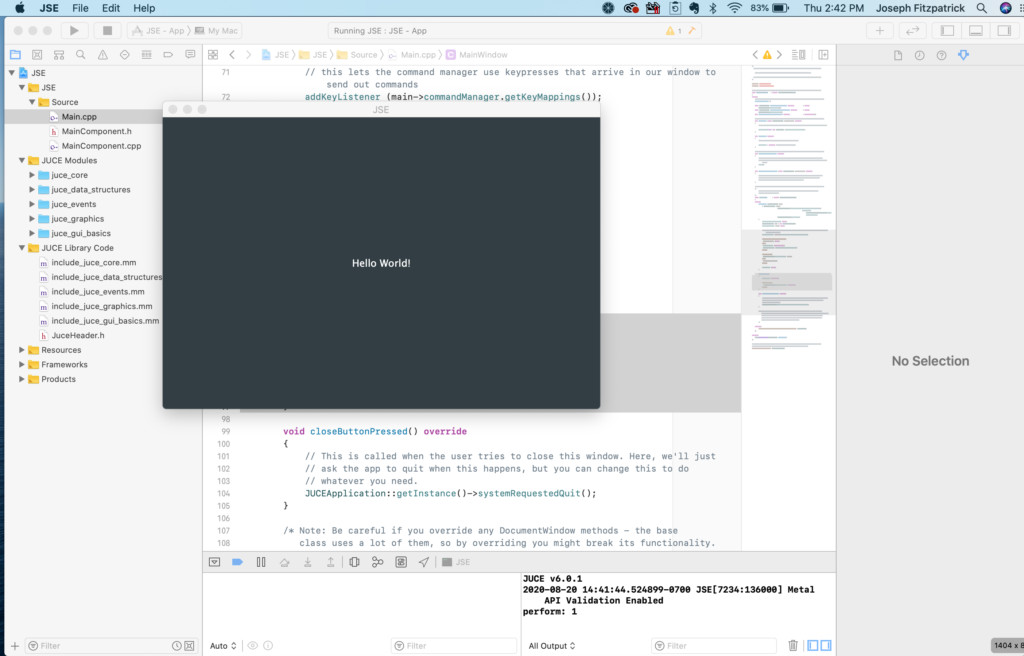
If we click the Xcode looking icon at the top, our project is saved, a project for Xcode is exported, and XCode (free for download from Apple) is opened with it. Building and running our project we get:
In addition to books, tutorials, and the reference documentation. Another good place to figure out how to do things is JUCE is the “DemoRunner” application, pictured at the top of this post. You can browse demos on the left and select them. Some are a lot snazzier and more engaging than others, but let’s pick something mundane, like Menus:
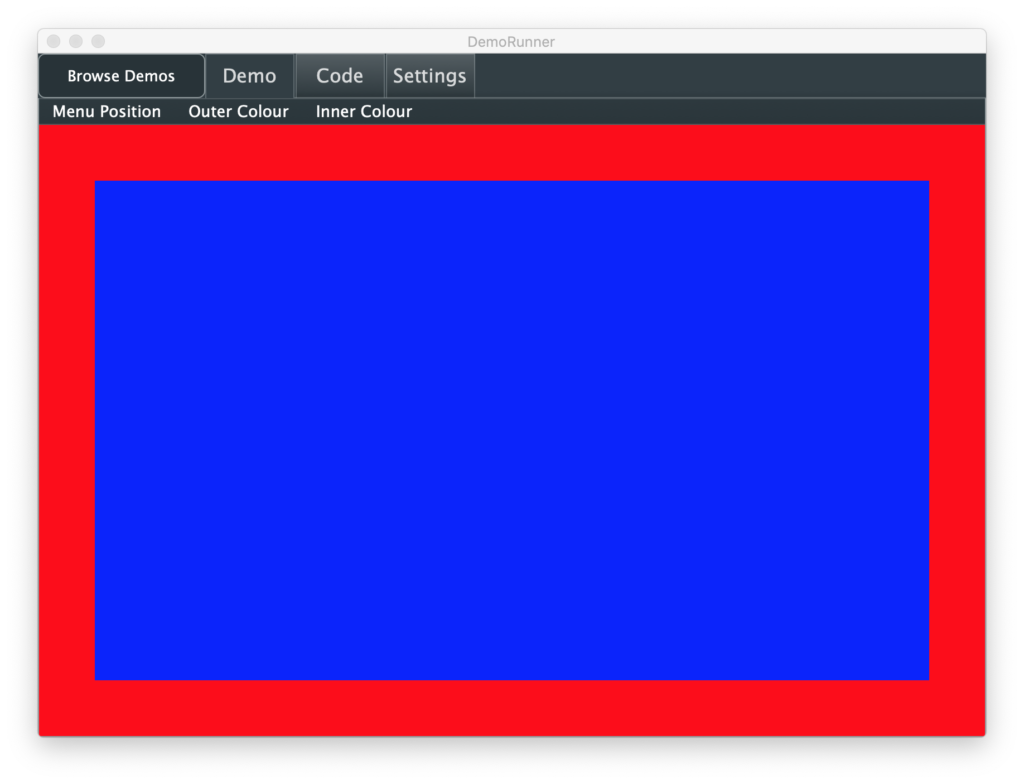
The sample lets you put the menu different places, top of the screen (OS X only), top of the window, or in a side bar. Then the positioned menu let you change colors for the frame and center rectangle. Like all the samples, there is a Code tab that lets you examine the relevant source code without having to search in the compiler:
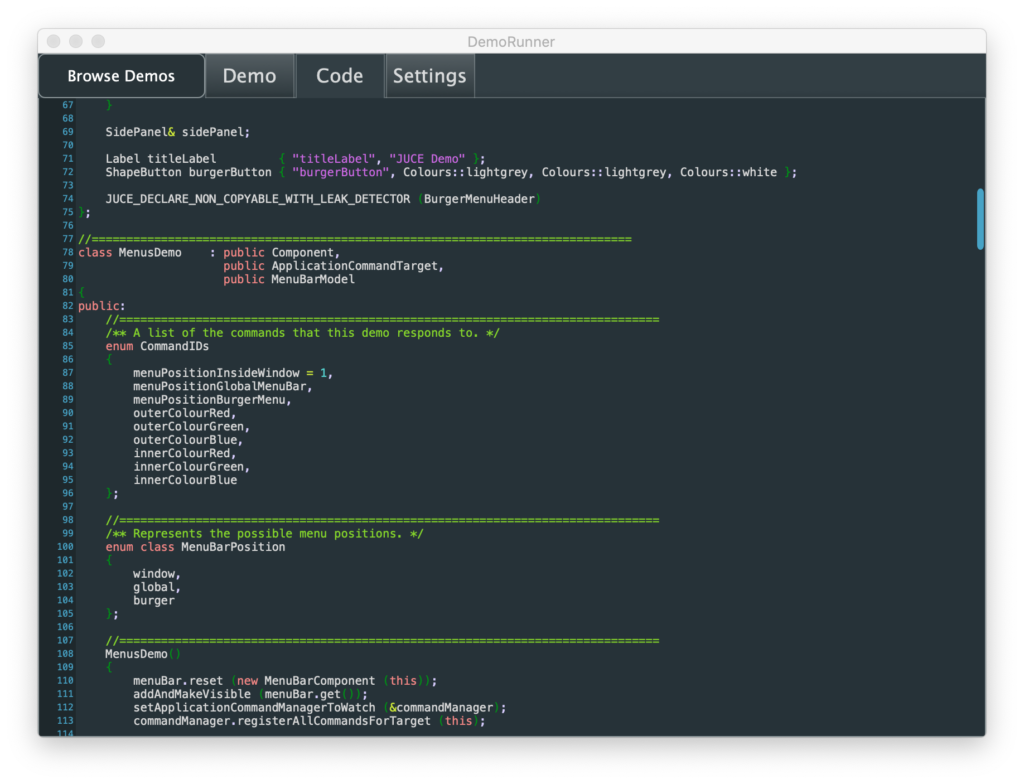
The demo introduces us to some classes we might expect, like MenuBar, MenuBarModel, and PopupMenu. If you are at all familiar with the “Model-View-Controller” design template favored by Apple for iOS and frameworks in OS X, these should be pretty clear. But the demo also shows how to use another optional class called the ApplicationCommandManager, which lets you manage application operations and any hot keys for them in a centralized way.
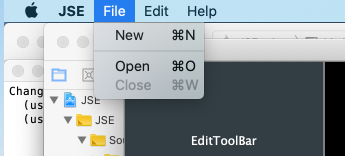
Using the demo as a guide, it was very straightforward to add a native OS X menu with some placeholder operations to our app and check that both making a menu selection and pushing hot keys trigger the “perform: x” debug message I added:
Unlike the demo, I actually used the MenuBar instance that came with our top level window. I also added this conditional code to our MainWindow constructor in Main.cpp:
            #if JUCE_MAC
             MenuBarModel::setMacMainMenu (main);
            #else
             setMenuBar(main);
            #endif
If we are building for Mac, the menu goes at the top of the screen. Otherwise, it goes at the top of our window. All the sample commands were done via an ApplicationCommandManger, not directly responding to the selection function in our MenuBarModel class. We’ll see one advantage to this in a bit.
Now that we have a simple app running and have dabbled at adding functionality based on a JUCE demo, it is time to start making this sketch from our design come together:
The basic UI building block in JUCE is a “Component”. All the UI controls, like Button and ListBox in JUCE are classes that inherit from Component and then add specialized functionality. Components can contain other components as children. So we can do something similar and make our different screen areas their own component.
Going back to the Projucer we can right click in our source tree and add skeleton component classes as files:
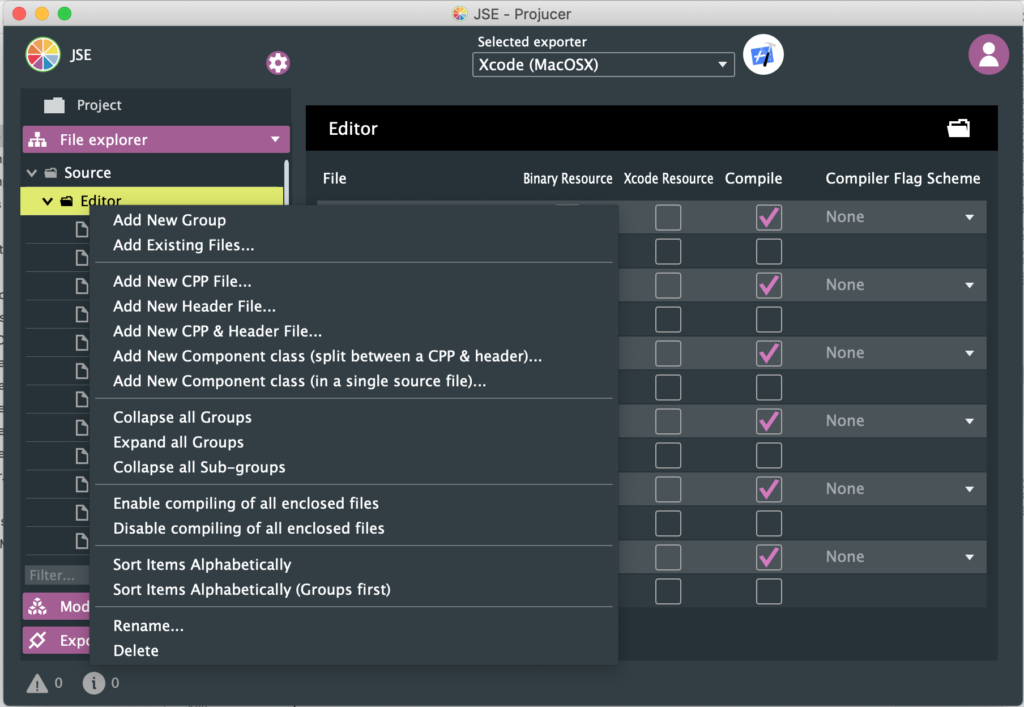
I went ahead and added “New Component class (split between a CPP & header)” for most our main areas. Skeletons created this way draw a gray boarder and put the class name in the middle by default.
But these classes also need to somewhat work in unison. When a new frame is selected, any properties displayed must update, and etc. There are different ways to manage this, but I’m going with a service_provider-broadcast model. I’m creating a non component (not visible) class called FrameEditor. This class will inherit from a JUCE class named ActionBroadcaster.
Our visible components will, in turn, all inherit from a JUCE class named ActionListener. These GUI classes will ask FrameEditor to do the work and FrameEditor will broadcast messages that operations have occurred so that the other components can respond accordingly.
Our MainComponent that was created for us initially (the one that says “Hello World!” on the screen), will stick around as the frame that holds all our newly created components. We start by including the related header files and added pointers for each of our component classes to the definition of MainComponent:
    std::unique_ptr frameEditor;
    std::unique_ptr toolBar;
    std::unique_ptr laserControls;
    std::unique_ptr editProperties;
    std::unique_ptrmainEditor;
    std::unique_ptr frameList;
If you are wondering why it isn’t just:
FrameEditor* frameEditor;
EditToolBar* toolBar;
LaserControls* laserControls;
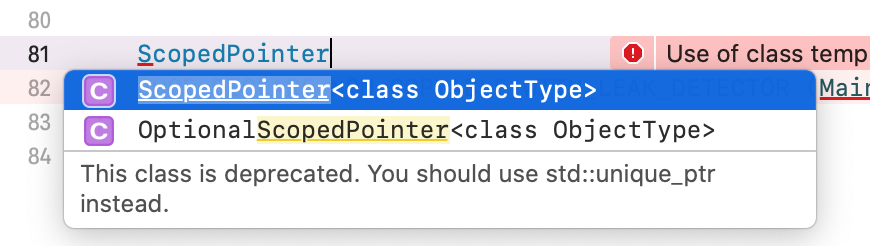
...The answer is RAII. JUCE has a template class called ScopedPointer. That class automatically deletes the class it points to when the template ‘pointer’ class is reassigned or deleted. This gets rid of the memory leak problems typically associated with “new” and “delete” in C++. This functionality was finally added to the C++ standard library when the 2011 standard was ratified, so if you try to use ScopedPointer now you get warned you should use the std::unique_ptr class instead:
Next we add this to our MainComponent constructor:
    // Shared frame editor worker class
    frameEditor.reset (new FrameEditor());

    // GUI components
    toolBar.reset (new EditToolBar (frameEditor.get()));
    addAndMakeVisible (toolBar.get());
    laserControls.reset (new LaserControls (frameEditor.get()));
    addAndMakeVisible (laserControls.get());
    editProperties.reset (new EditProperties (frameEditor.get()));
    addAndMakeVisible (editProperties.get());
    mainEditor.reset (new MainEditor (frameEditor.get()));
    addAndMakeVisible (mainEditor.get());
    frameList.reset (new FrameList (frameEditor.get()));
    addAndMakeVisible (frameList.get());
We create an instance of our service provider class, then pass in a pointer to it as a parameter as we create each of our GUI components. This way they can use it to perform operations and (optionally) register for broadcast messages when operations have occurred. The addAndMakeVisible calls add each component as a child of our MainComponent and make them visible.
Last, we need to position the children when our MainComponent is resized:
void MainComponent::resized()
{
toolBar->setBounds (0, 0, 200, 160);
frameList->setBounds (0, 160, 200, getHeight() - 160);
laserControls->setBounds (getWidth() - 200, 0, 200, 97);
editProperties->setBounds (getWidth() - 200, 97, 200, getHeight() - 97);
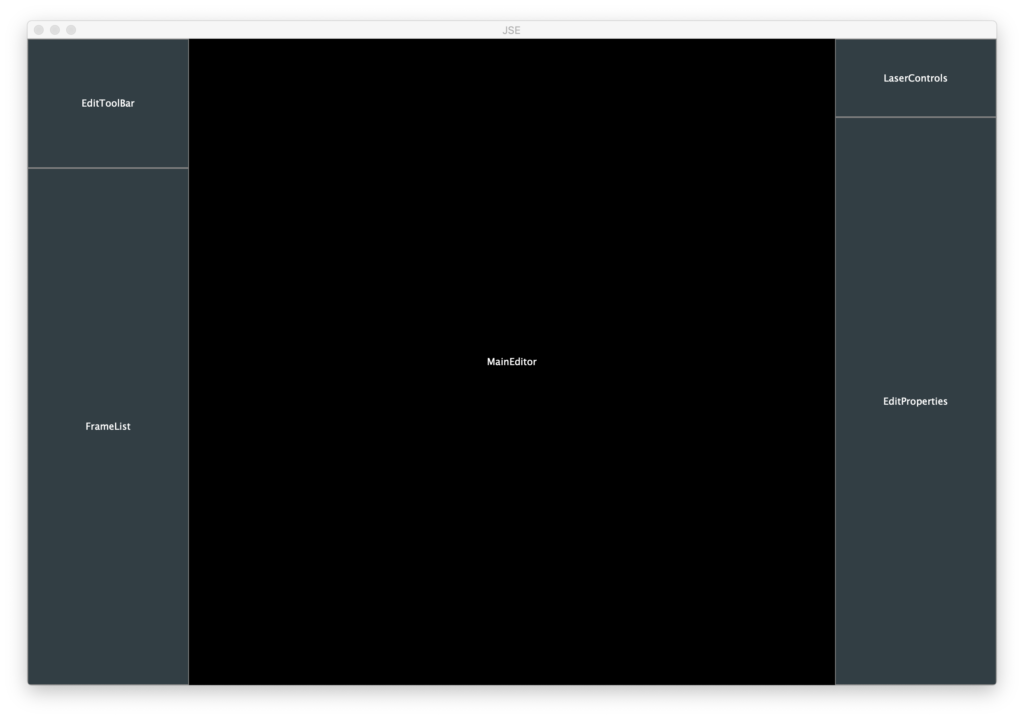
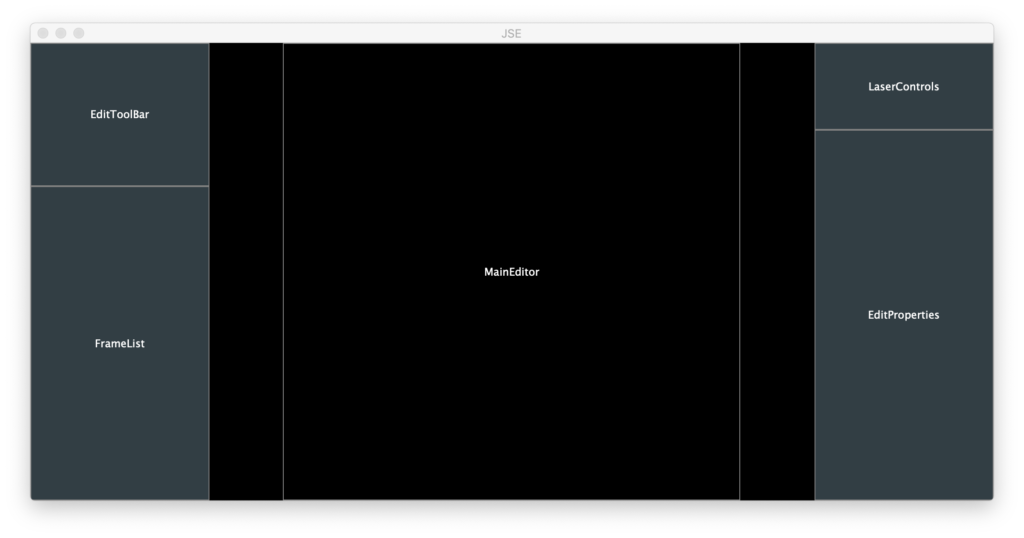
mainEditor->setBounds (200, 0, getWidth() - 400, getHeight());
}Most the components are anchored to the right or left of the container. I Also tweaked our MainEditor component so that it’s paint function makes the background black. The other components still have their default (gray outline w/name) behavior. When we run the app, it looks a lot like our sketch:
As we play with with adjusting the size and going full screen, it looks pretty good, but there are two obvious problems. One, we can make it too small to be useful:

That’s easy enough to fix, we can constrain the minimum size for our window in the MainWindow constructor in Main.cpp:
            #if JUCE_IOS || JUCE_ANDROID
             setFullScreen (true);
            #else
             setResizable (true, true);
             setResizeLimits (640, 480, 32000, 32000);
             centreWithSize (getWidth(), getHeight());
            #endif
You can also do things like constrain aspect ratio, but keeping us 640×480 or larger works for now.
The other problem is that our main editor area isn’t always square. ILDA X/Y coordinates are a 65535×65535 grid. So our working area, at least while we show the full field, is always square. So let’s change our MainEditor class so that it calculates a centered, square working area based on width and height each time we are resized and draws an outline of the working area every time we are painted:
void MainEditor::paint (juce::Graphics& g)
{
// Black background
g.fillAll (Colours::black);
// Outline working area
g.setColour (juce::Colours::grey);
g.drawRect (activeArea, 1);
// Class name
g.setColour (juce::Colours::white);
g.setFont (14.0f);
g.drawText ("MainEditor", getLocalBounds(),
juce::Justification::centred, true);
}
void MainEditor::resized()
{
// Figure out our working area
auto w = getWidth();
auto h = getHeight();
if (w > h)
activeArea.setBounds ((w - h) >> 1, 0, h, h);
else
activeArea.setBounds (0, (h - w) >> 1, w, w);
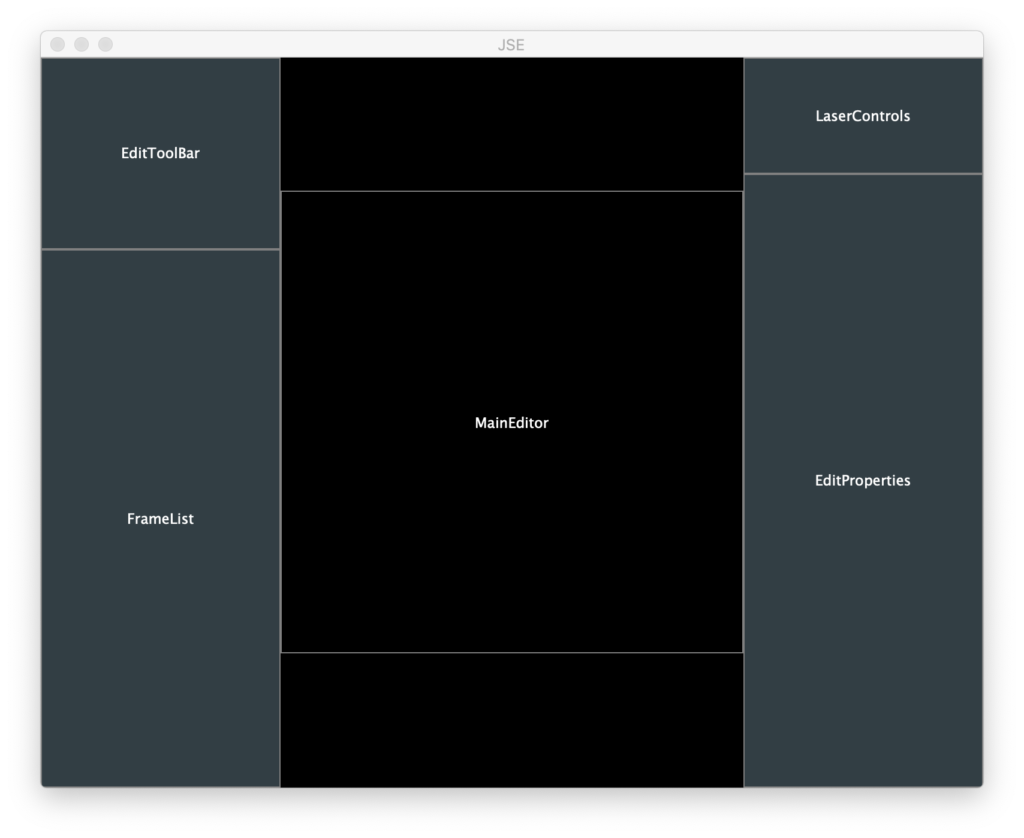
}Now the working area is indicated and we can see dead space is either top/bottom or left/right depending on our window’s aspect ratio:
Yes, it’s just squares and text, but look what happens when we go to Windows and compile in Visual Studio 2019 (free for download from Microsoft):
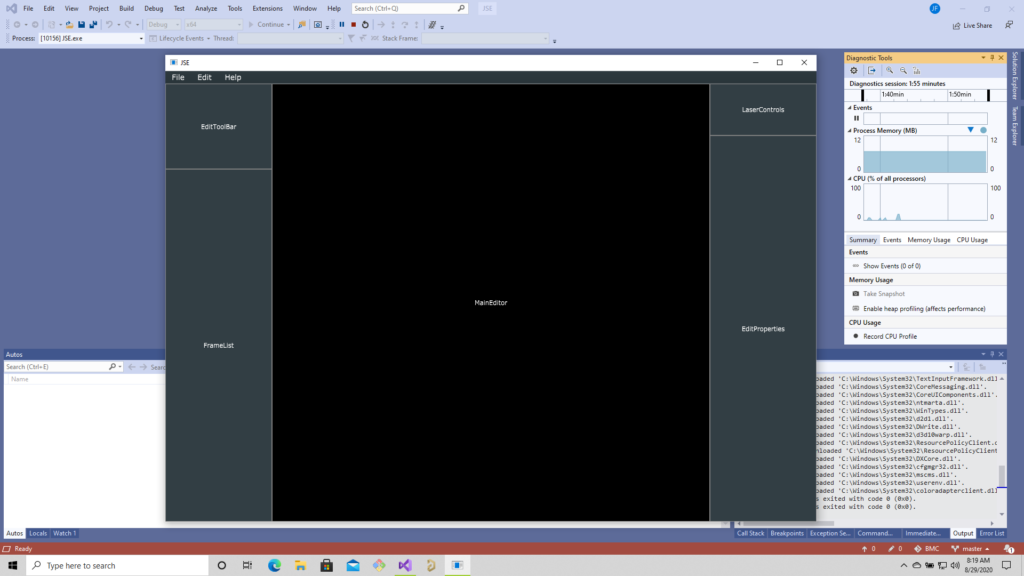
Huzzah! Our app already compiles and runs natively in multiple operating systems with minimal effort. As we go we will have to continue to put in some tweaks to maintain a good native feel for each platform, but JUCE handles a lot. Case in point, check out the shortcuts in our in window menu under Windows:
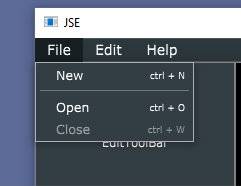
Notice they use the
The shortcuts use the Apple Command key, normal for OS X. This is one of the details that ApplicationCommandManager just took care of for us automatically.
Now that we have a nice multi-platform framework pushed to the repo. Our next step will be to start rapidly fleshing out functionality!
Leave a Reply